
Also known as me drooling at Steven F. Udvar-Hazy Center…..
I’ve seen countless shuttle images in documentaries and mission footage, but standing under the real Space Shuttle Discovery hits differently. In a museum hangar, the orbiter isn’t “a spaceship on a screen”, it’s a machine: scorched, riveted, tiled, and covered in evidence that it actually went to orbit and came back.
Below are my photos from the exhibit, with a guide to what’s visible in each one.
A quick refresher: why Discovery matters
Discovery is one of NASA’s operational Space Shuttle orbiters and one of the most historically significant:
- Flew 39 missions (the most of any shuttle)
- Deployed the Hubble Space Telescope (STS‑31, 1990)
- Flew key ISS assembly missions
- Flew major “return to flight” missions after both shuttle losses
(STS‑26 after Challenger; STS‑114 after Columbia)
Seeing it in person makes those facts feel less like trivia and more like a reminder that human spaceflight is equal parts audacity and engineering discipline.
The “hangar-wide” view: Discovery as a system, not just an airplane
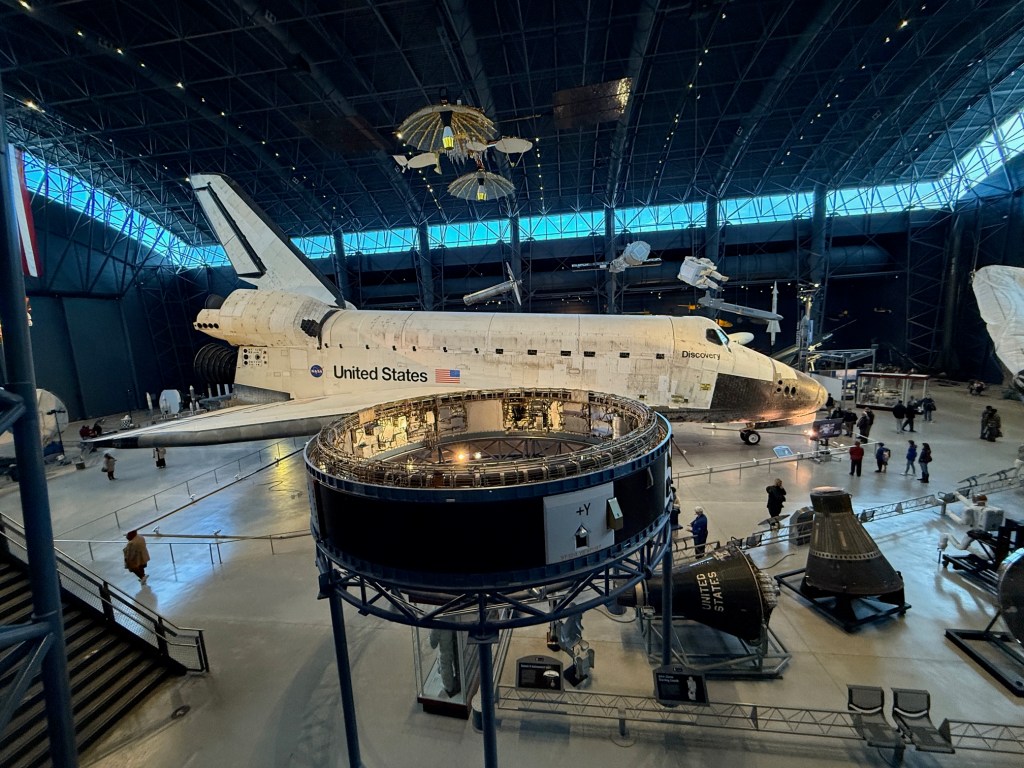
What you’re seeing:
- The full orbiter from the side: payload bay doors closed, delta wing, and vertical stabilizer.
- The iconic “United States” markings and NASA “meatball” logo.
- The black thermal protection system along the belly and leading edges (high heating), contrasted with the white upper surface tiles/blankets (lower heating).
Look closely at:
- The wing leading edge (the sharp front edge of the wing). Those surfaces experienced extreme re-entry heating and were built with high-temperature materials.
- The “patchwork” look isn’t grime—it’s the reality of a spacecraft: thousands of tiles/blankets, each with its own seams, repairs, and maintenance history.
Also visible in the exhibit space:
- Suspended objects above the shuttle (satellites/space hardware) and an astronaut figure—museums often hang these to give a “in orbit” vibe and to show how many different spacecraft systems the shuttle interacted with.
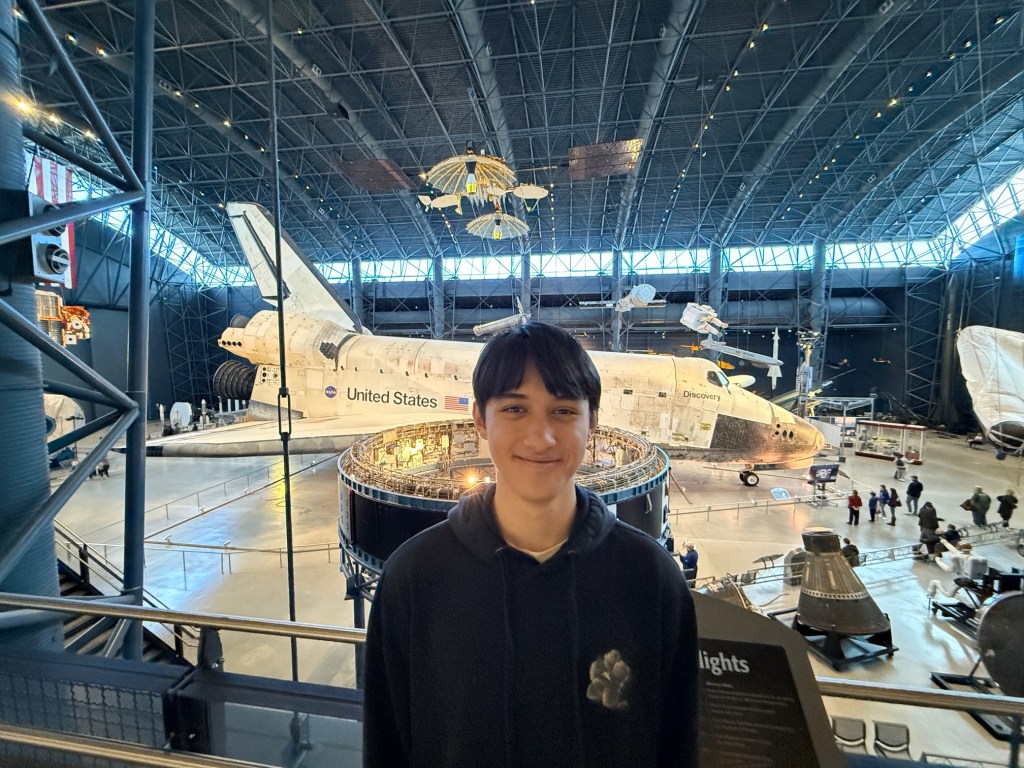
Same scene, but with scale (and a personal moment)
This one adds the most important measurement in aerospace: humans for scale.
What it shows best:
- How big the orbiter is. The shuttle looks sleek in launch footage; up close it’s enormous—more like a building-sized machine than a “plane.”
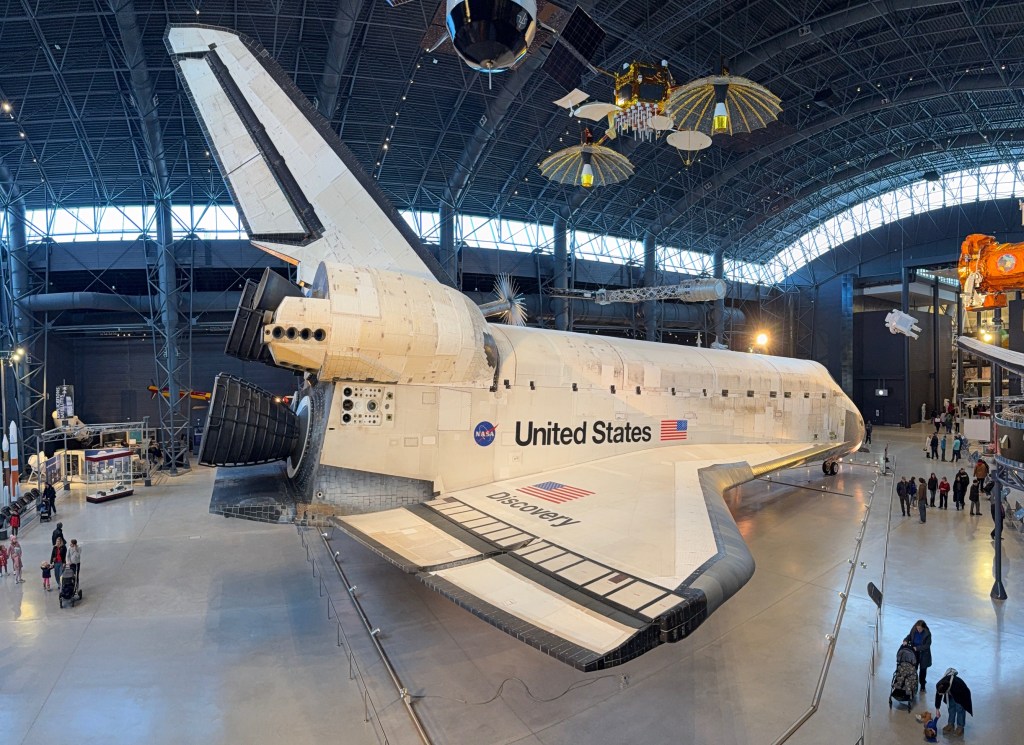
The classic side profile: wings, tail, and the “re-entry geometry”
This angle makes the shuttle’s “two identities” obvious: it’s a spacecraft designed to survive hypersonic re-entry and a glider designed to land on a runway.
Visible features:
- The delta wing (big, triangular planform): chosen for stability and lift at high speeds during re-entry.
- The vertical stabilizer: the tall tail fin that gives directional stability in the atmosphere.
- The overall blunt body + sharp-ish edges compromise: blunt where you want to manage heating/shock behavior, shaped where you need control authority.
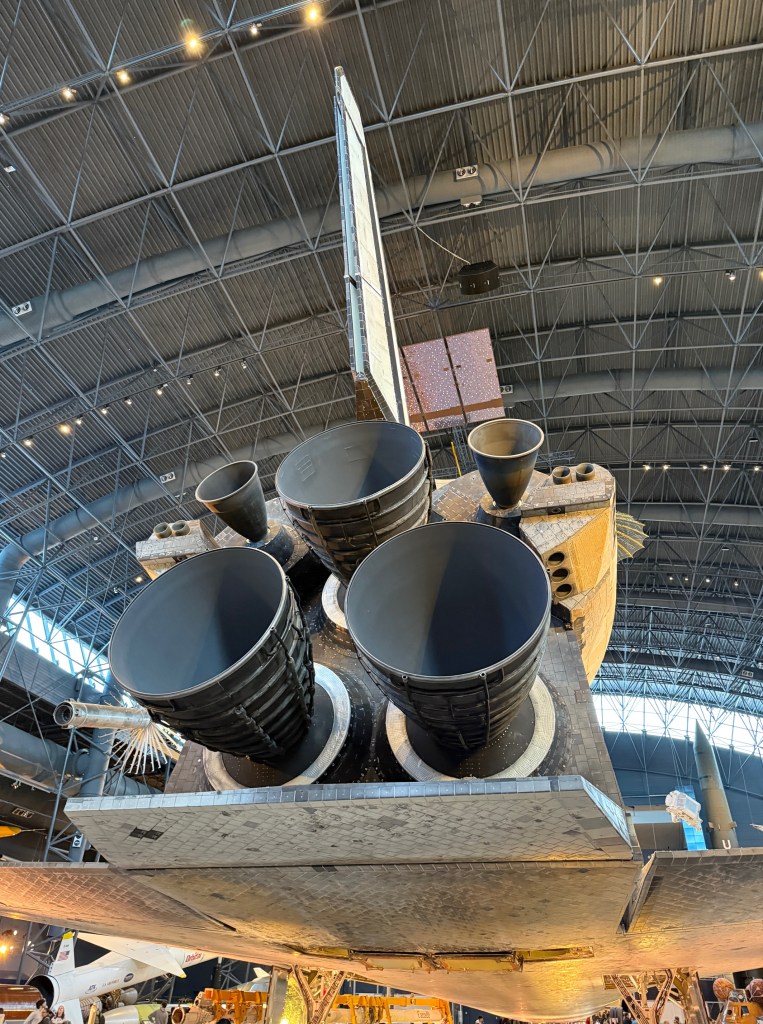
The business end: engines, OMS, and attitude control
This is the most “engineering-heavy” photo, and my favorite for understanding how the shuttle actually maneuvered.
What you’re seeing (aft end):
- Three huge main engine bells = the Space Shuttle Main Engines (SSMEs).
These were fed by the External Tank during ascent—so the orbiter carried the engines, but not the main propellant. - The two smaller nozzles off to the sides = the OMS (Orbital Maneuvering System) engines (one in each OMS pod).
These were used in orbit for burns like orbit circularization and major trajectory changes. - Clusters of smaller ports = RCS thrusters (Reaction Control System) for attitude control (pointing and small maneuvers).
Also visible:
- The black tile field around the aft underside—this area deals with serious heating during re-entry.
- The “worked-on” texture: seams, fasteners, and protective coatings that don’t look like a pristine aircraft—because a spacecraft is maintained like a spacecraft.
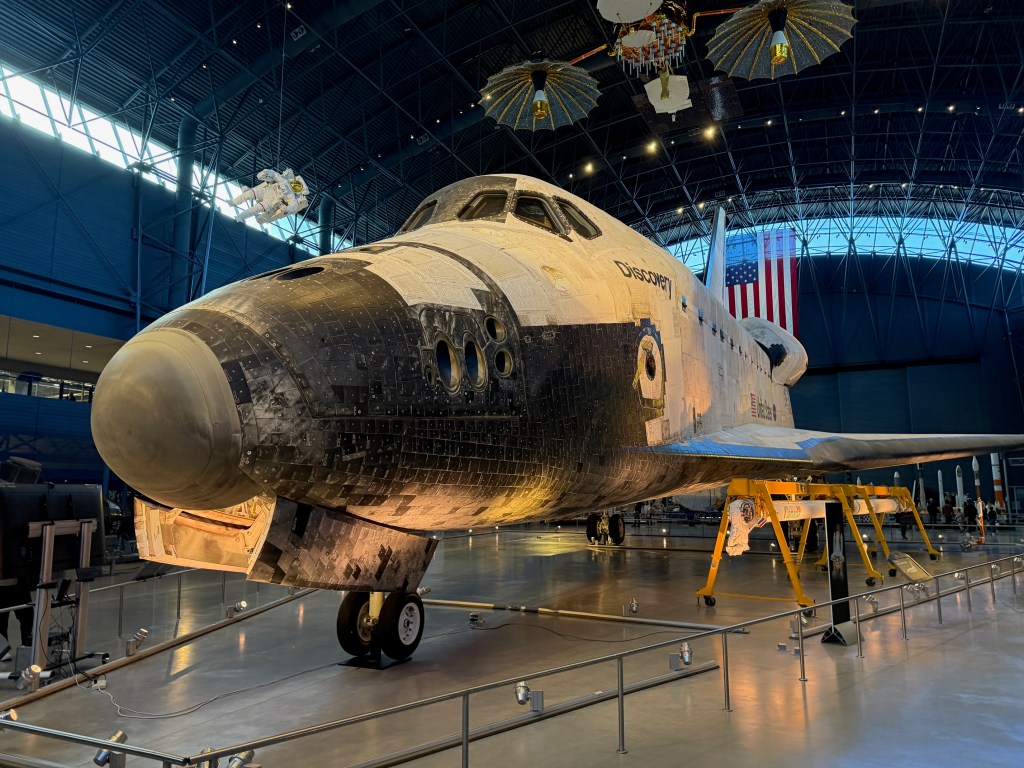
The nose: windows, thermal protection, and the forward thrusters
This is the shot that made the shuttle feel most “alive”—you’re staring at the front end that led the orbiter through plasma on the way home.
Key things visible:
- The cockpit windows and the distinctive shuttle “face.”
- The dark thermal protection around the forward fuselage. The shuttle’s heat shield isn’t one piece—it’s a mosaic of materials tuned to different heat loads.
- The forward RCS thruster ports near the nose/forward fuselage area (used for attitude control in orbit).
If you’re into astrophotography, this is the spacecraft equivalent of optical design tradeoffs: everything is a compromise between performance, survivability, maintainability, and mass.
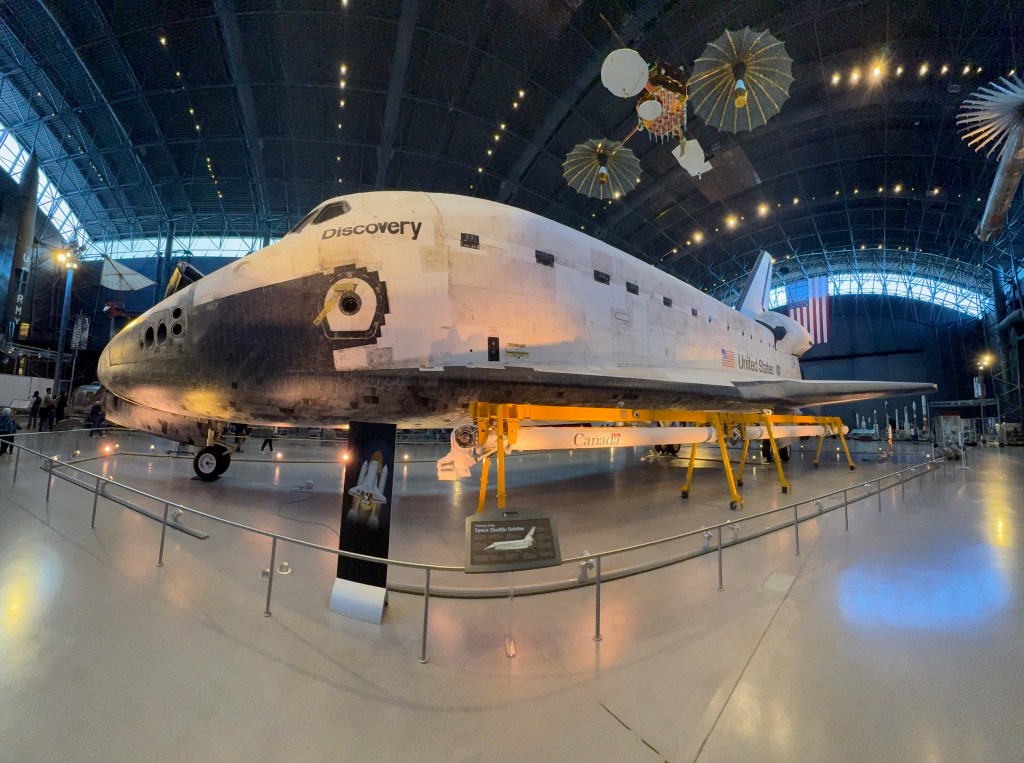
The side view with the Canadarm on display
This one is a reminder that the shuttle wasn’t just a “ride to orbit”—it was a space truck + construction platform + satellite servicing tool.
What’s visible:
- The orbiter from a lower, wider angle (you can see the belly curve and the tile boundary).
- A long, white robotic arm on yellow supports labeled Canada: that’s the Canadarm (Shuttle Remote Manipulator System).
It was used to deploy/retrieve satellites and help with assembly/servicing tasks.
The shuttle era is full of “mechanical” spaceflight: arms, latches, payload bays, EVA tools—hardware doing real work.
Final thought
If you are at all interested in space and history of space exploration, go visit the Air and Space Museum. This was one the most interesting trips I ever did.

Leave a comment